
How did I come up with learning how to make yogurt? Ever since I ramped up my cooking a few years ago, I’ve been on this quest to DIY/make as many things at home as possible. Like what? Well, most recently I’ve turned my attentions to dairy products, this homemade cottage cheese and homemade crème fraîche, just to name a few. Oh, and DIY marshmallows. And now, yogurt.
After weeks and weeks of exhaustive research (seriously – at this point you can ask me *anything* about yogurt making), I discovered that there are countless combinations of milks and cultures, and therefore, countless outcomes. I had to figure out what I wanted my homemade yogurt to taste like, and for someone who was raised on crappy grocery store brands, that was sort of like asking a five year old where the nearest gas station is. Undaunted, I set out to educate myself on the vast array of flavors and textures that result from dairy fermentation.
For a while now I’ve been seeing a yogurt stand at the farmers market called Saint Benoît. What initially caught my eye were the cute little crockery pots that they packaged their wares in. I’m nothing if not a sucker for creative food receptacles, so I bought one and brought it home. And holy bovine juice, Batman! This stuff was good. This was what I wanted my yogurt to taste like.
Homemade Yogurt Culture Primer
It turns out that Saint Benoît uses some chichi French culture that wasn’t available in the US, but as luck would have it, yogurt making is such that you can simply use a yogurt that you fancy as a starter for your own batch. Depending on several factors – such as the milk you use and incubation time – your homemade yogurt should turn out similarly. I picked up a pot of the Saint Benoît plain stuff and a few pints of organic Jersey milk from the local Whole Foods Market, then hit up my yogurt-making friends for details.
Homemade Yogurt Thickness
Now, there’s a thing that a lot of home yogurt makers use to thicken their final product: powdered milk. Let me just say that I’ve been scarred since childhood because my mother – bless her single mother-of-two soul – used to buy milk when it was on sale, mix it with water and powered milk to make it last longer, and then freeze it. Needless to say, I stopped drinking milk altogether and just the thought of powdered milk makes my stomach turn over and over like a hot dog on one of those little roller racks. I won’t be using powdered milk, thankyouverymuch. Besides the weird kiddy-trauma, I think the idea of dehydrated milk is kind of gross.
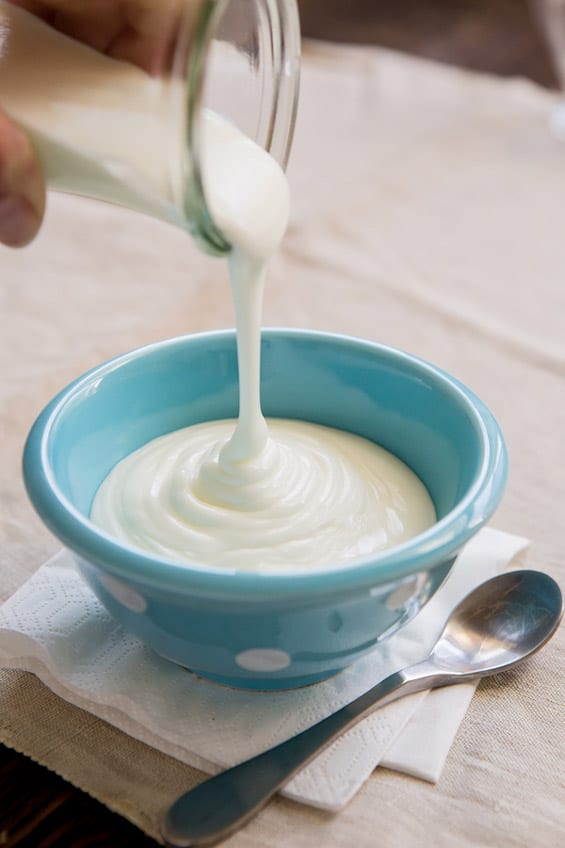
Anyways. If you want your homemade yogurt to be so thick that you can literally slice it, go ahead and use powdered milk. My recipe below will give you something that’s plenty thick, as long as you let it incubate for at least eight hours. The longer you incubate your yogurt the thicker (and more tart) it will become. Also, the lower fat milk you use, the thinner the yogurt will be.
Learning How to Make Yogurt
A note on starters when learning how to make homemade yogurt: you can’t use flavored yogurt as a starter culture – the flavorings inhibit the fermentation process. This means you can’t flavor it until the next day, after the batch is finished and refrigerated. Also, the yogurt starter must be fresh and unpasteurized, otherwise the cultures will have been killed off by age and/or heat exposure. Leave the Dannon on the shelf and splurge for a nice, local, organic brand. You’ll be more guaranteed of freshness and the resulting flavor will leave you rolling on the floor, hugging your yogurt maker.
Also, a note on incubators: I have this model of yogurt maker, and I like it because you can make a lot of yogurt – 64oz. The little cups are kind of annoying to wash, so I’ve been eying this model, and have heard good things about it. It’s certainly cheaper, and you can replace the plastic container on the inside with glass if you so wish. You can just as easily make homemade yogurt without any newfangled contraption at all, using a heating bad or a warm oven. Check out those forum posts I linked above for more information on that.
Finally, if you notice a clear liquid on your homemade yogurt either before or after it’s been fermented, that’s totally normal. That’s whey, which can be poured off and used for a mega-protein shot in your soups and baked goods. People who are learning how to make yogurt often freak out about this stuff, but it’s not only normal, it’s a sign that you’re doing something right!
How to Make Yogurt, DIY
Ingredients
- 3 cups whole milk ideally organic
- 1/4 cup plain yogurt I recommend using your local organic brand for freshness and flavor
Instructions
- Wash everything that will be coming in contact with your homemade yogurt so that there are no competing bacteria anywhere in your production line. You don't have to be super anal, just clean on a basic level. Heat milk in a saucepan over a medium flame, stirring regularly to prevent a skin from forming. If it does form, just remove it with a spoon. Heat milk until bubbles start to form at the edges and steam begins to rise from the surface - that's 180F if you're using a candy thermometer. This step kills off competing bacteria in the milk.
- NOTE: Do not walk away from your milk while it is heating! It only takes a few minutes to heat to 180, and it will quickly boil over, scorching the milk and making an awful mess. Seriously no bueno, especially if you're using expensive organic milk.
- Once the milk has reached the proper temperature, remove it from the heat. You want to cool the milk down until it's reached 115F, which is the ideal temperature for culturing. If you're milk's above 120 the cultures will fry, and if it's below 90 nothing will happen. If you don't have a thermometer, the milk is at about 115 when you can comfortably put your finger in it for twenty seconds.
- Next, in a separate cup, combine starter yogurt with a few tablespoons of the warm milk. Mix well, and then quickly pour into the rest of the milk. Mix the whole batch until it's completely incorporated, then pour into your yogurt maker of choice. After 8 hours, taste the yogurt, making sure not to agitate it too much lest you anger the fermentation gods. If you'd like it thicker or more tart, by all means incubate it up to another 6 to 7 hours. Bear in mind that too much incubation will cause the protein to completely fall apart and you'll end up with a huge mess of curds and whey, so unless you're Little Miss Muffet, don't push your fermentation much past 12 or 14 hours.
- Once your homemade yogurt is done, refrigerate immediately for at least twelve hours before eating. After that, flavor to your heart's content. I like it with local raw honey and a few slices of kiwi. *yogurtgasm*
Notes
Nutrition
This content was originally posted on FearlessFresh.com.